How to Create a Panel & Log Changes?
Got new data that you’d like to manage for your organization? Need to track the date your data was entered? Then, let’s talk about creating new panel objects and logging changes to data.
The iMIS Panel Designer allows you to put together panels using available business objects or panel sources that store data. If you need to capture information that has not previously been available, set up a new panel source before putting your panel together.
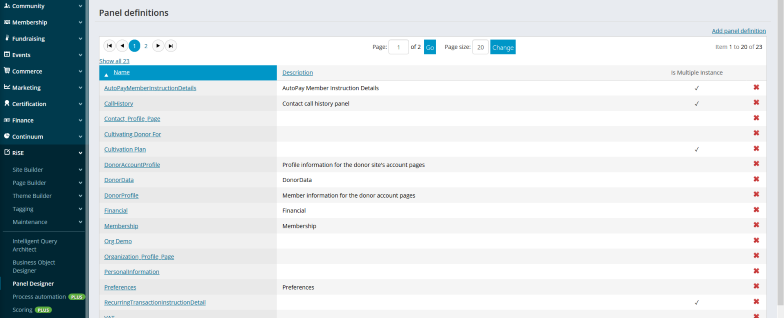
- Go to Rise > Panel Designer > Add Panel Definition.
- Enter a panel name & an optional description.
 If currently on 20.3, you have the option of selecting from two panel types:
Contact: Select this option if your new panel will be displayed on a member account profile.
Standalone: Select this option if your new panel will not be associated with a specific contact, will not be used on the member site, and will be a multi-instance panel.
- Select whether you’ll be creating a single-instance or multi-instance panel.
Single-Instance: Select this option if you only anticipate users having one entry (ie. Date of Birth).
Multi-Instance: Select this option if your users will be able to enter multiple entries (ie. Certifications).
- Click Create Source and enter your Source Name.
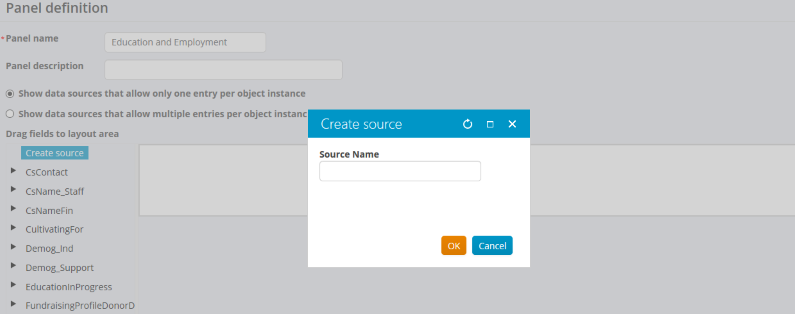
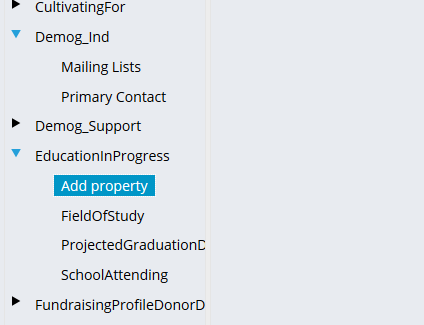
*We recommend beginning your source name with your ORGNAME_PanelName to help differentiate your created panels from the built-in panels. - Once you create your source, click Add Property. Here is where logging changes for a specific field can be enabled.
- Enter a name for your field.
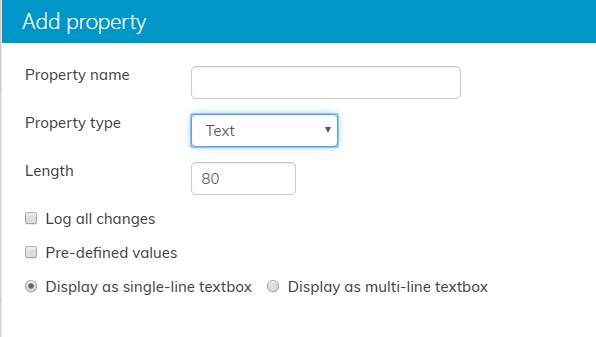
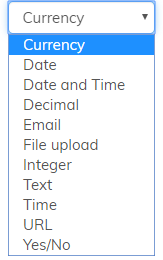
- Select the property type (the datatype of information you are capturing).
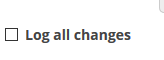
- Check the box ‘Log all changes’ to track data changes made to a specific property. *In 20.3, this is only available for Contact Panel Types.
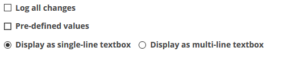
- If the property type “Text” was selected, the following additional options appear.
- Click OK and you’ll see the property displayed under the new source you created.
When Log all changes is selected, you can view the change logs by adding the Change History Display content item to a record.
not secure