Entering in Payments for Members
If you used to primarily enter in payments using iMIS desktop, those days are now over. You can now make payments in your iMIS website with the functionality you need. You can apply credits as payments or enter in partial payments while having the ease of doing everything in one place.
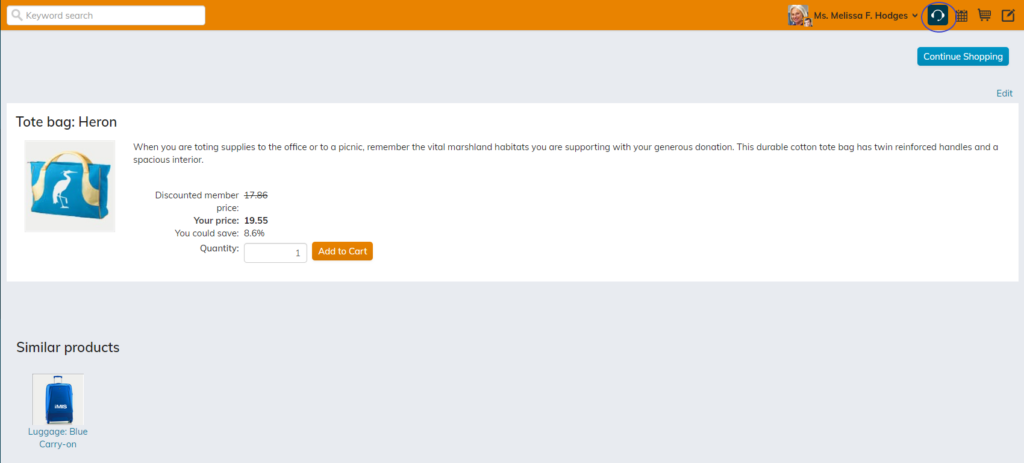
There are a few different ways you can enter payments. For non-invoiced items, you can go in ‘On Behalf of’ mode by clicking on the headset icon in the upper right in either the staff site or member site. This will allow you to act as the member and be able to add products, dues, event registrations, and more to the member’s cart on their behalf.
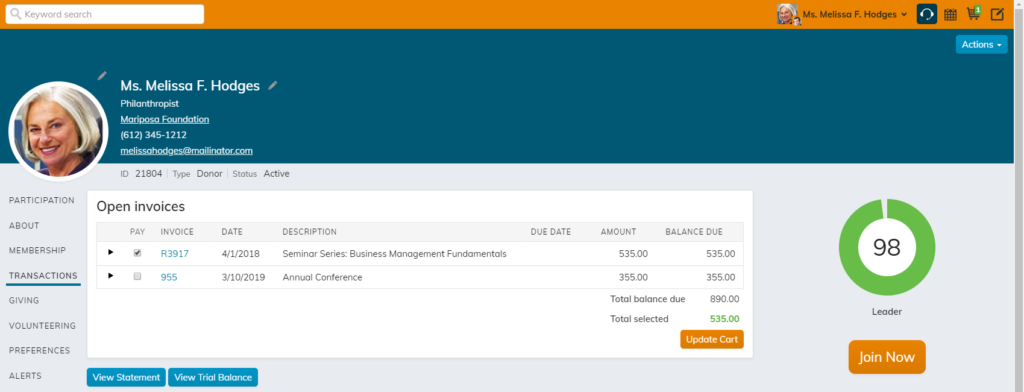
Another option for items that have been invoiced is to look at the customer’s record and look at their Open Invoices list under the ‘Transactions’ tab. Note, this is the out of the box iMIS profile page. You can add the ‘Open Invoice List Display’ iPart if this does not exist on your profile pages.
From this list, you can check which items are to be paid off and click ‘Add to cart’. By adding the invoices to the cart, you are switched to ‘On behalf of’ mode.
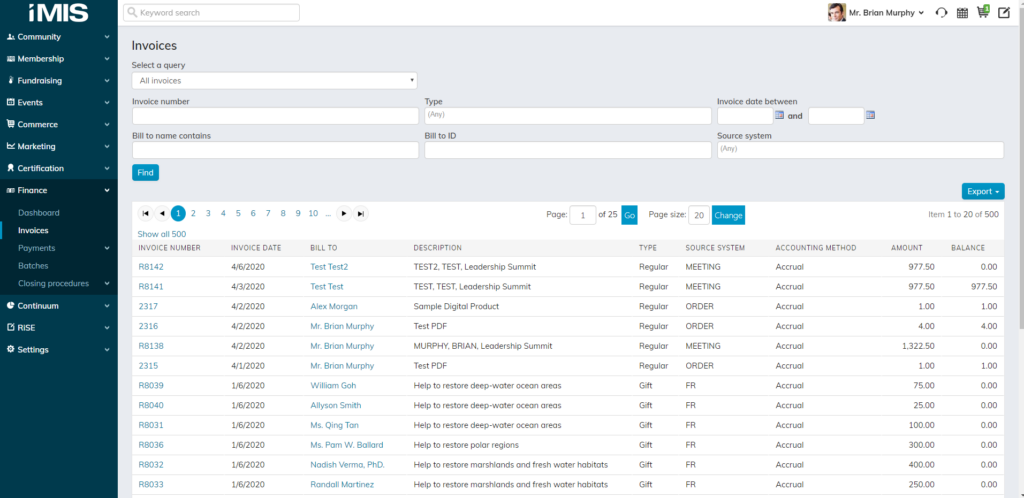
The last option and this may be the best option if you process payments in mass, is to go to Finance > Invoices to look up the customer’s existing invoice. You can use any of the filters or change queries to help locate the invoice with a balance.
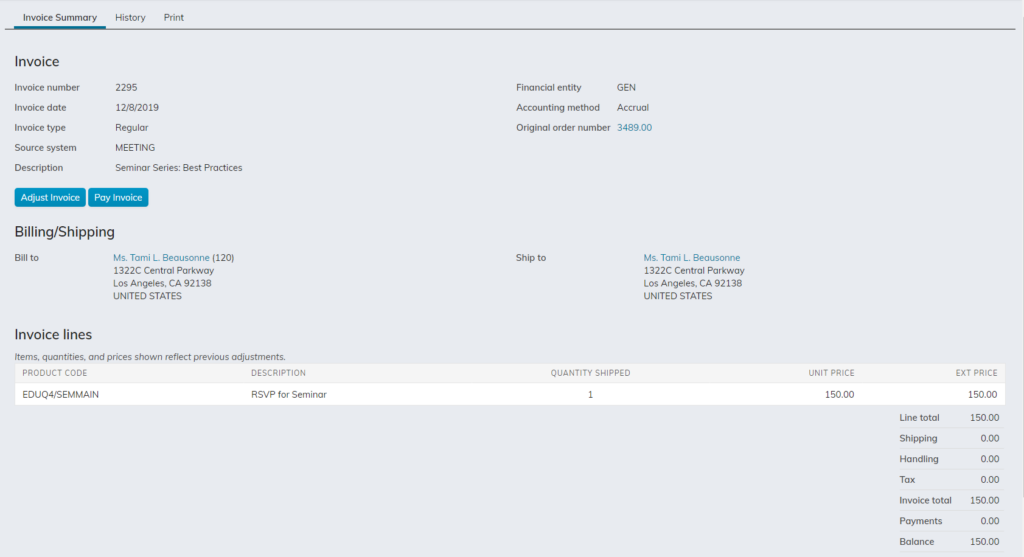
From the invoice list, you can click on the invoice number and this will take you to the invoice details page. On this page, click ‘Pay Invoice’ and this will add the invoice to the member’s cart.
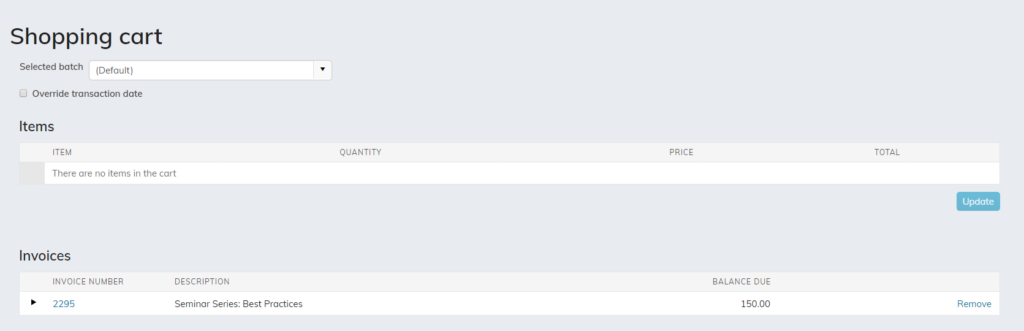
For any of the above methods, you will need to go to the shopping cart to enter in payment details, if you are not already on this page.

On this page, you will see the items that you have selected to purchase or pay off. Depending on your batch settings, you can specify which batch the payment should go into. Otherwise, the payment will go into the default batch for the day. If the payment needs to be dated on a day other than today, check the ‘Override transaction date’ option to select the true date of the payment.
Further down on the page, you can select or enter in details of how the item(s) will be paid. If the customer has an open credit in the system or if you would like to apply an open credit from someone else to these items, click ‘Apply other credit’ to select from the available credits from the system.
If using any other payment method, select the Payment Method under ‘Payment Details’ and enter in the corresponding details. Note that you can specify the payment amount and enter in how much is being paid. This will allow you to make partial payments if this is the case.
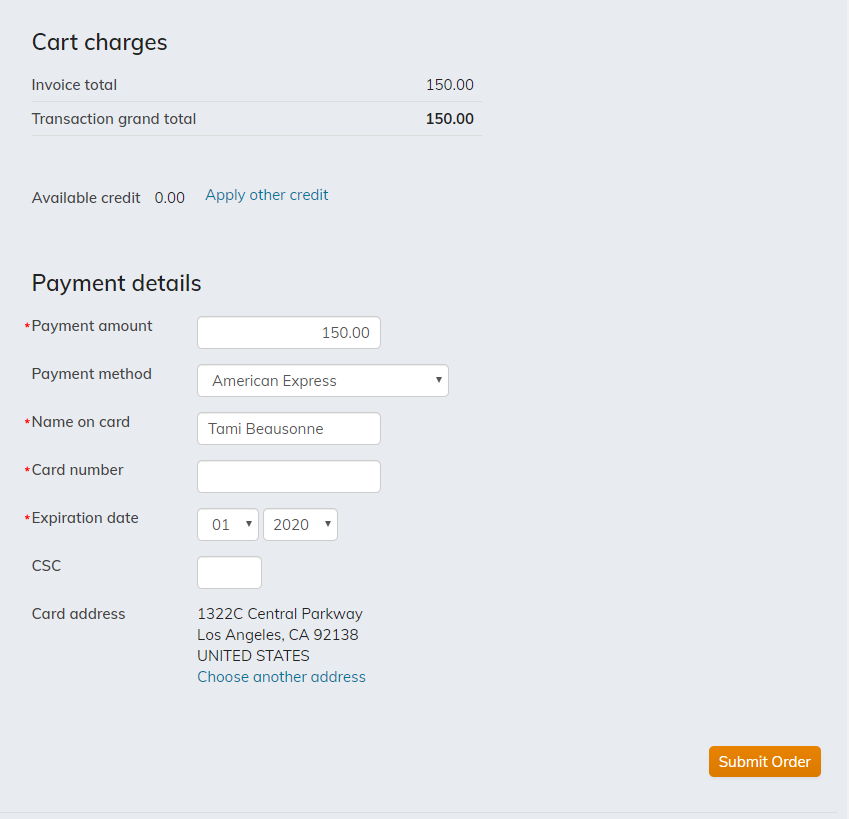
Once the details have been entered in, click ‘Submit Order’.
Still have iMIS questions? Click here for assistance and a Support Analyst will get back to you shortly.
not secure